How to Make a Flyer with AI: From Brief to Visual Set
PhotosStyle Team
9/4/2026
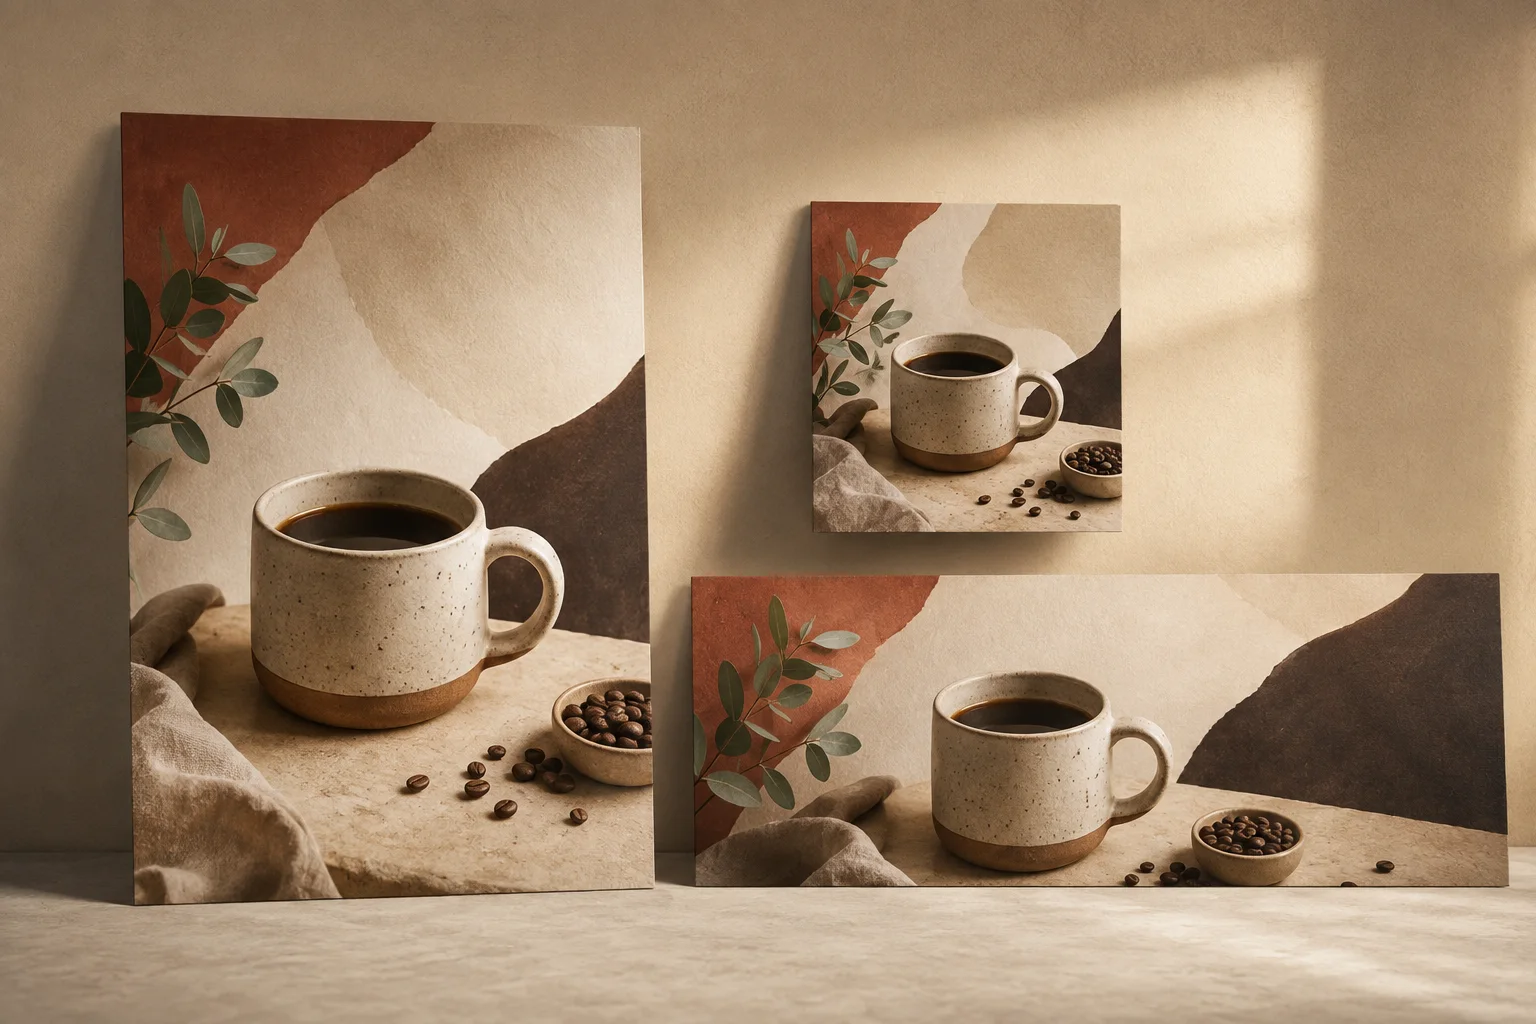
A flyer rarely fails because it lacks decoration. It fails because the viewer cannot tell what matters first. The event name competes with the date, the background distracts from the subject, or every line asks for equal attention.
AI can help you explore a clear visual direction before you spend time polishing the final layout. With PhotosStyle Creator, you can describe an event, attach visual references, compare several ideas, and continue refining the chosen direction in the same conversation.
This guide shows how to make a flyer with AI and extend the same idea into a small promotional set. Creator works with aspect ratios rather than exact pixel dimensions, so final resizing, print setup, and detailed typesetting should be completed in your publishing or layout tool.
Start an event visual project in Creator. Sign-in is required so Creator can create images and keep the project history in one session.
What You Will Create
For the example in this guide, the goal is a three-image event set:
- A main flyer or poster direction that establishes the campaign look
- A square promotional visual for feeds and announcement cards
- A horizontal cover for event pages, newsletters, or web headers
These are related compositions, not exact-size exports. Creator can generate 1:1, 9:16, 16:9, 4:3, and 3:4 images. Choose the closest ratio for the intended placement, then apply the final pixel size elsewhere when a platform or printer requires it.
Step 1: Write the Event Brief Before the Prompt
Start with the information that must survive every visual variation. A useful flyer brief answers:
- What is the event called?
- Who is it for?
- What should the viewer feel?
- What is the main visual subject?
- Which colors, logos, products, people, or venue details must appear?
- What should never appear?
- Which images are needed from the first round?
Keep the first brief visual. Dates, addresses, prices, ticket conditions, and legal copy still matter, but long blocks of exact text are better added during final layout. AI-generated letters and small text must always be checked manually.
Step 2: Add References Only When They Help
You can begin from text alone, but references make the direction more specific. Add a logo, venue photo, product, person, or previous campaign image when it should influence the result.
Use a clear image where the important subject is fully visible. If you attach several references, explain the role of each one: which image defines the subject, which supplies the color mood, and which is only an atmosphere reference. This reduces conflicting instructions.
Do not upload a crowded inspiration board and expect every detail to be copied. A short brief plus one or two purposeful references is easier to evaluate and refine.
Step 3: Generate the First Visual Directions
Open the Event Poster scene in PhotosStyle Creator and describe the project in natural language. A useful starting prompt is:
Create a visual set for a weekend coffee festival. Use a warm editorial look, make a ceramic coffee cup the focal point, and leave clear negative space for the event name and date. Start with three directions: a vertical flyer composition, a square promotional visual, and a horizontal cover. Avoid tiny decorative text, watermarks, and crowded backgrounds.
Creator can plan up to four image tasks in one generation round. If it proposes more than two images, review the plan and credit cost before confirming. The first round is for choosing a direction—not for forcing every deliverable to be final.
Compare the results by asking:
- Is the focal point obvious at a glance?
- Is there enough calm space for real event information?
- Does the mood match the intended audience?
- Can the same visual language work in vertical, square, and horizontal compositions?
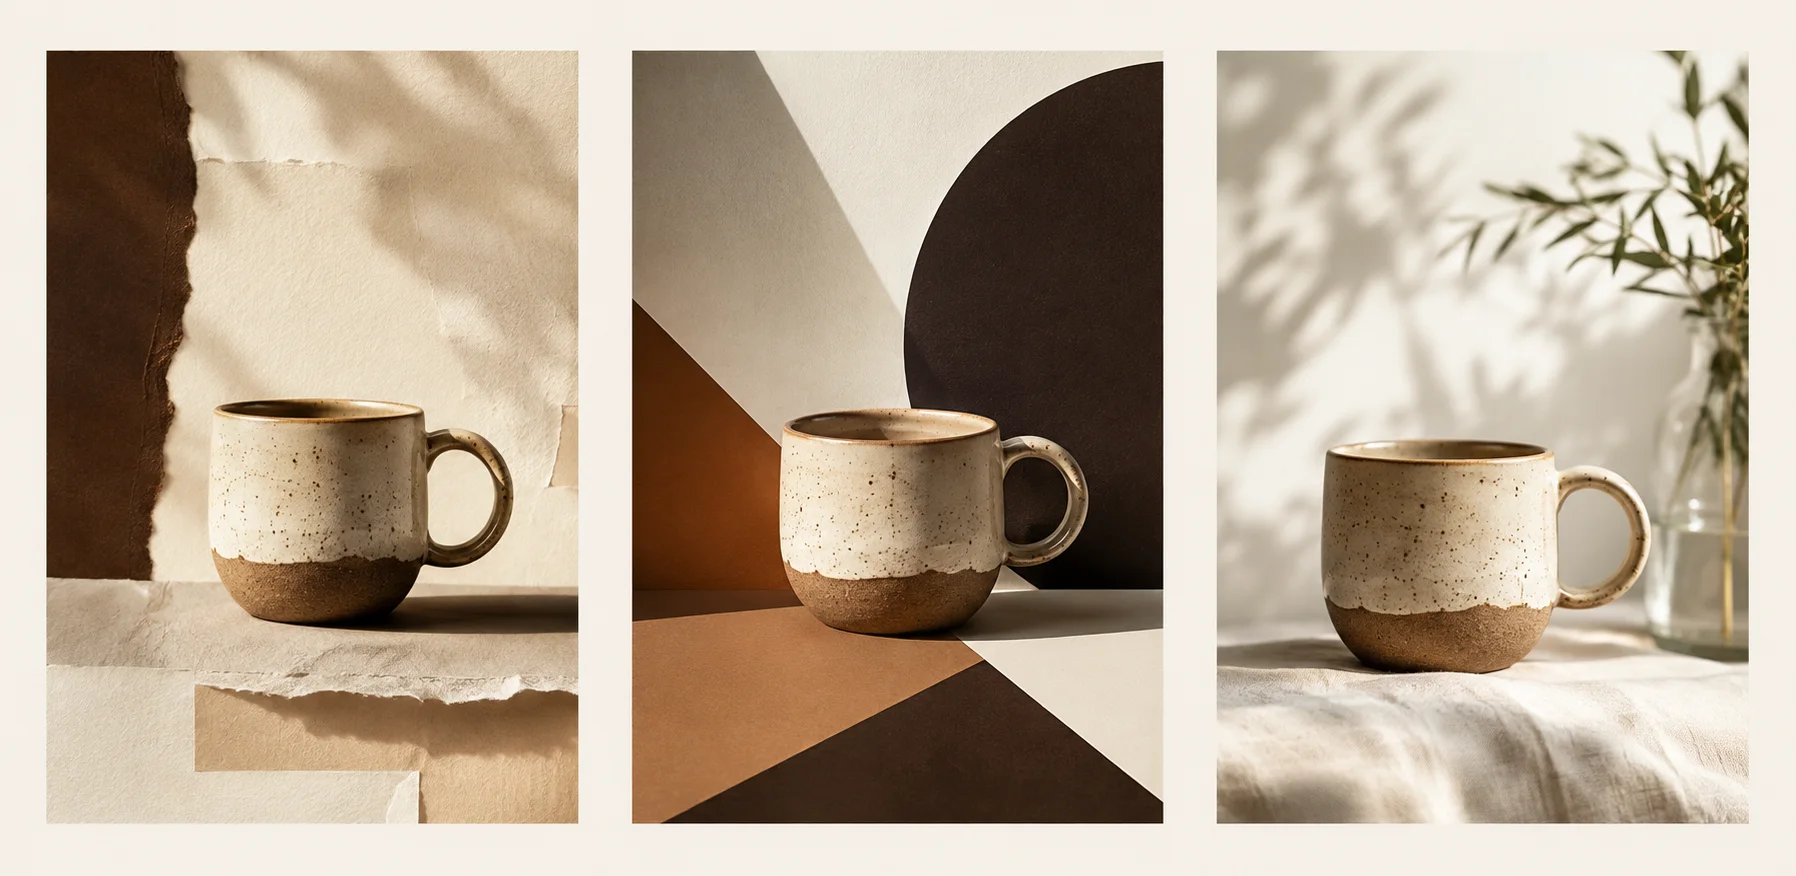
Step 4: Refine One Direction in the Same Conversation
Choose the strongest direction and give concrete feedback. Instead of saying “make it better,” describe what must stay and what must change.
For example:
Keep the ceramic cup, warm amber lighting, paper texture, and restrained color palette. Simplify the background, make the cup larger, and move the visual weight toward the lower right so the upper-left area remains open for the event title.
Useful follow-up instructions include:
- Keep the subject; change only the lighting
- Preserve the palette; remove two background props
- Create more negative space above the subject
- Use the same direction in a square composition
- Adapt the composition to
16:9without stretching the subject
Because the conversation keeps the project context, you do not need to rewrite the entire brief for every adjustment. You should still repeat critical constraints—such as an accurate product shape or a person’s identity—when they are essential to approval.
Step 5: Adapt the Key Visual to Other Ratios
A visual set should feel related without being a mechanical crop. In a vertical flyer, the eye can travel from headline space to subject to details. A square version needs a tighter focal point. A horizontal cover often needs the subject on one side and open space on the other.
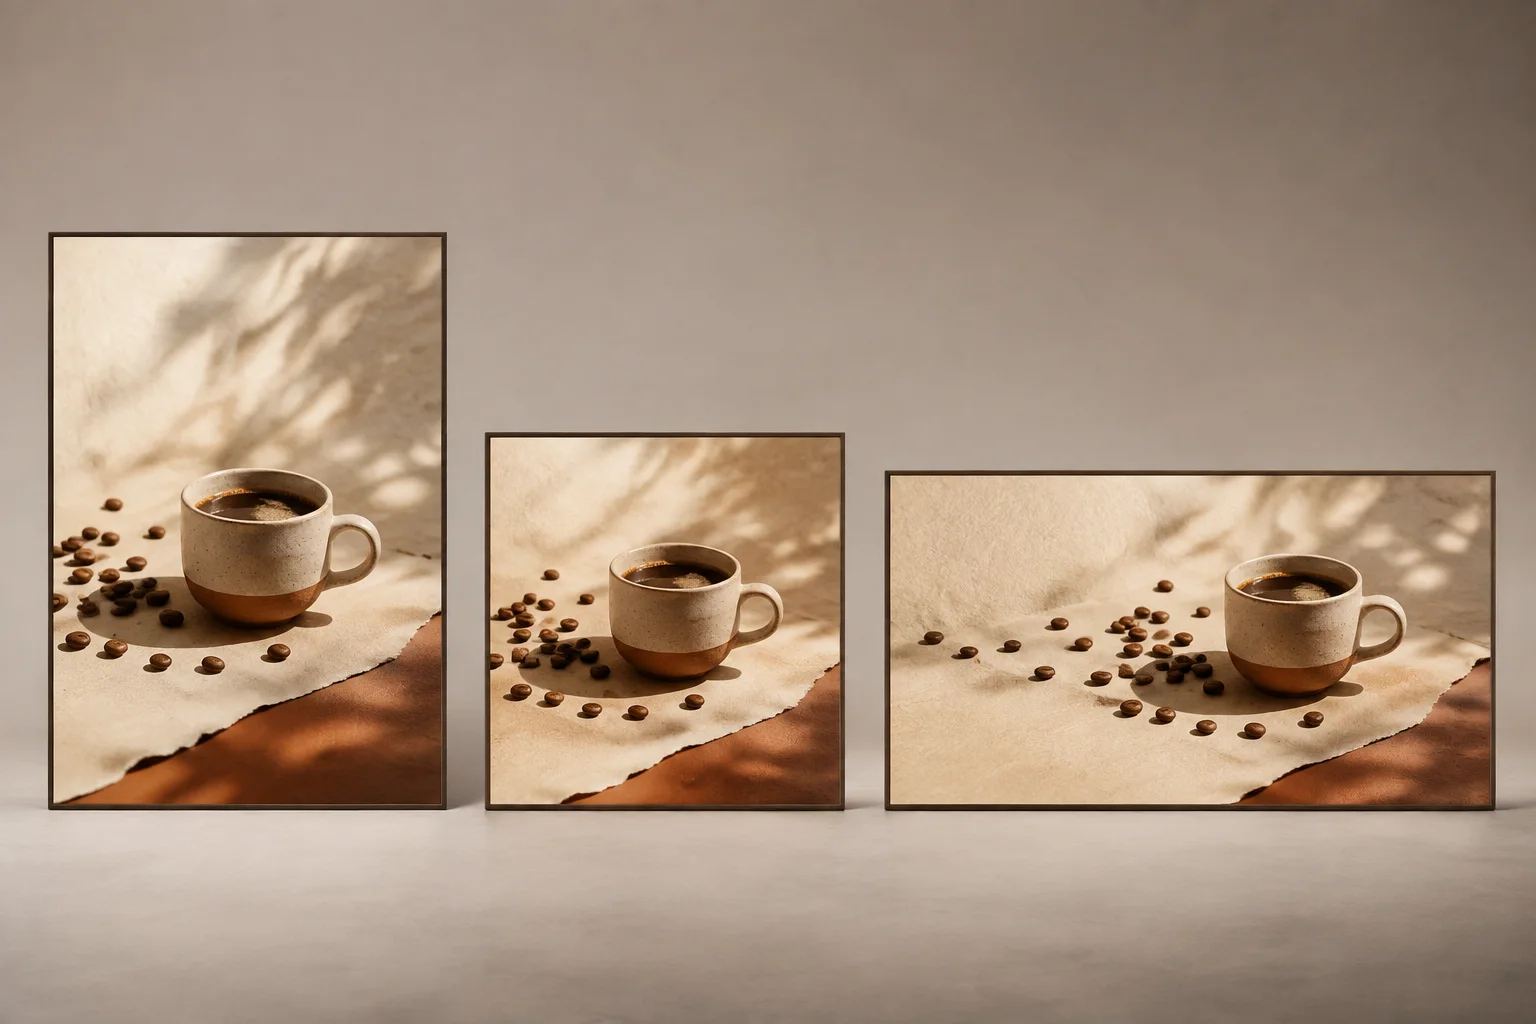
Ask Creator to recompose the idea for each ratio instead of merely cutting off the edges. This is especially important when a face, product, logo, or venue must remain visible.
Creator does not currently guarantee exact values such as 1080×1350 or print dimensions with bleed. Treat its output as the visual asset and composition stage. Use a design or publishing tool for the final canvas dimensions.
Step 6: Add and Verify Final Information
Before publishing, check every factual element against the original event brief:
- Event name and organizer
- Date, time, time zone, and location
- Ticket price and registration link
- Sponsor and partner names
- Age limits, accessibility details, or required notices
- Logo shape and product appearance
If the generated image contains text, inspect every character. For information that must be exact, the safest workflow is to generate a strong visual with intentional text space, then add the final copy in a layout tool.
A Reusable AI Flyer Prompt Template
Copy this structure and replace the brackets:
Create a coordinated visual set for [event name/type].

Audience: [who the event is for]
Main subject: [person, product, object, venue, or abstract idea]
Mood: [three to five visual adjectives]
Color and lighting: [palette and light direction]
Must keep: [logo, subject details, brand cues]
Leave space for: [event name, date, CTA, or other copy]
Create: [flyer direction, square visual, horizontal cover]
Aspect ratios: [3:4, 1:1, 16:9]
Avoid: [unwanted styles, clutter, watermarks, tiny text]
Common Mistakes to Avoid
Asking for all the copy in the first image
Long schedules and small-print details make the composition harder to control and increase the chance of text errors. Establish the key visual first.
Changing everything between versions
If every ratio uses a new palette, subject, and lighting style, the campaign stops feeling connected. Preserve the visual rules and change the composition.
Treating an aspect ratio as an exact size
1:1 describes shape, not a guaranteed pixel count. Final delivery dimensions belong in the export and publishing stage.
Publishing without reviewing generated details
Check faces, hands, products, logos, venue details, and every piece of generated text before commercial use.
For a fill-in worksheet covering goals, references, must-keep details, and revision feedback, use our creative brief template for AI images.
Frequently Asked Questions
Can Creator make an exact flyer size?
Not currently. Creator supports five aspect ratios—1:1, 9:16, 16:9, 4:3, and 3:4—but it does not provide exact width and height fields. Resize the approved visual in a layout tool for final delivery.
Can I make a flyer without uploading an image?
Yes. The Event Poster scene can start from a text description. References are optional when you want to incorporate a particular logo, person, product, venue, or visual cue.
Can Creator generate several flyer variations?
Yes. It can plan up to four images in a generation round, and you can continue creating or refining variations in the same project session.
Do I need to sign in?
Yes. Sign-in is required to create images, keep conversation history, and return to the same Creator project later.
Turn Your Event Brief into a Visual Direction
The most effective AI flyer workflow separates two jobs: Creator helps you explore and refine the visual system, while your final layout step handles exact text, pixel dimensions, and print specifications.