How to Fix Rough Edges and Shadows in White Background Photos
PhotosStyle Team
5/28/2026
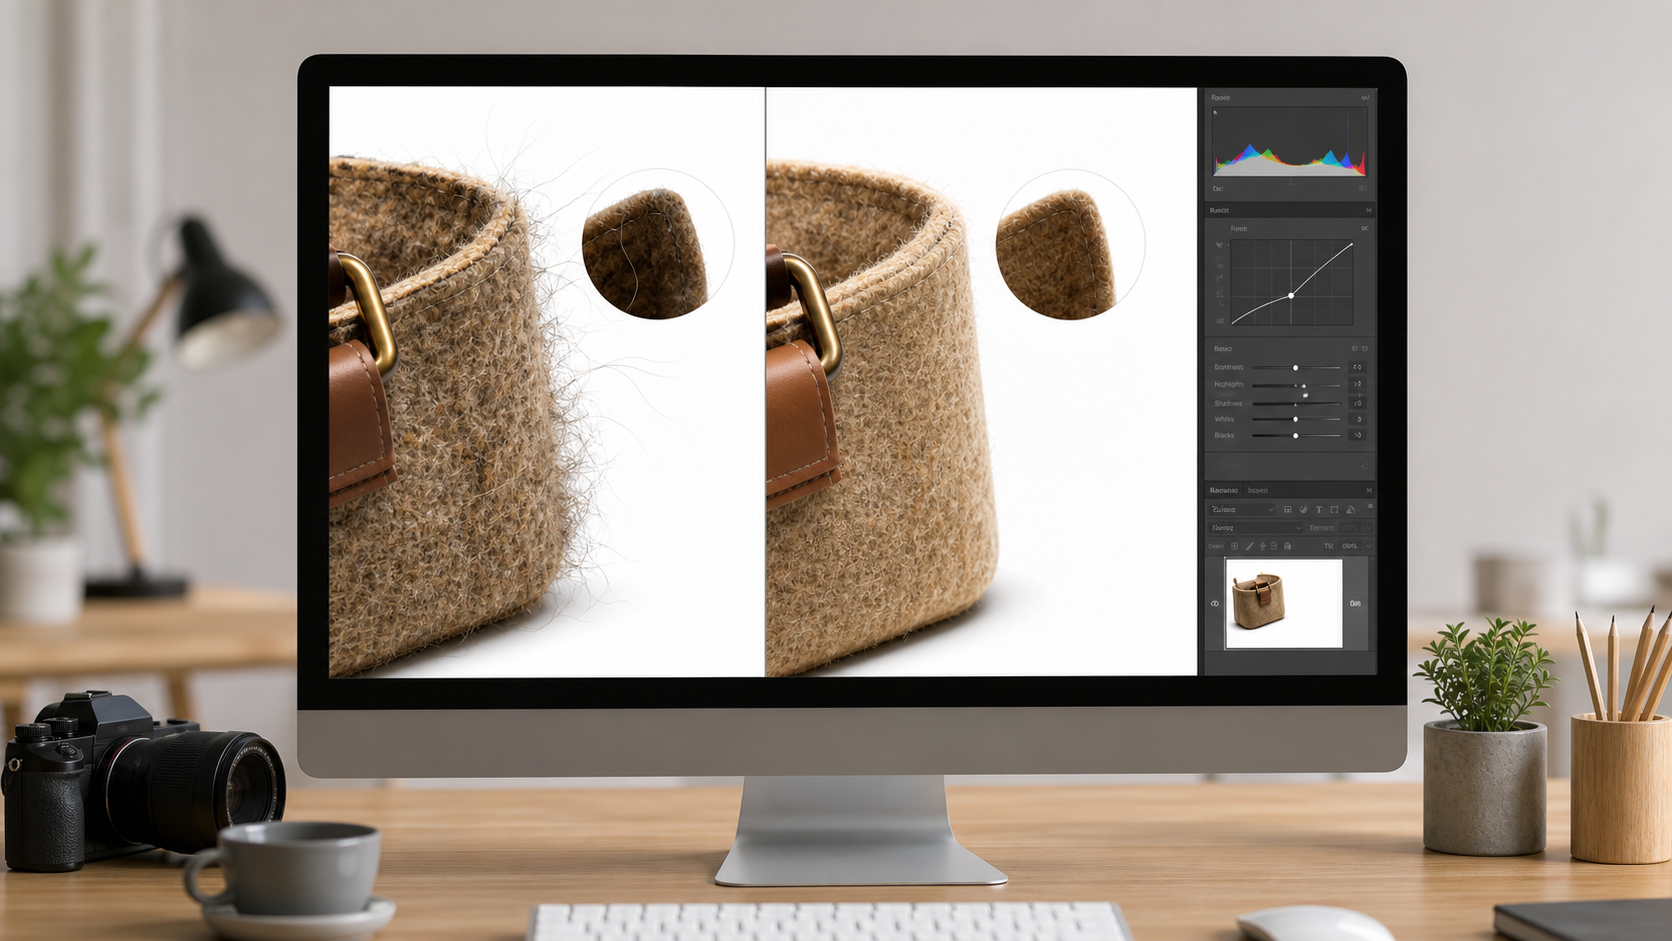
How to Fix Rough Edges and Shadows in White Background Photos
White background photos look simple when they are done well. But when the cutout is slightly off, the problems are easy to notice: rough edges, gray halos, missing hair detail, heavy shadows, or a subject that looks pasted onto the page.
The good news is that most of these issues can be improved with better source images and a focused edit pass. PhotosStyle's White Background Maker includes background color, shadow, use case, and result editing controls that help you refine the final image.
Why Rough Edges Happen
Edges become difficult when the subject and background are visually similar. A white mug on a pale table, blonde hair against a bright wall, glass packaging, lace, fur, jewelry, and transparent plastic can all make the boundary harder to detect.
Common causes include:
- Low-resolution or compressed source images
- Motion blur around the subject
- Strong shadows crossing the background
- Background colors that match the product
- Fine details such as hair, straps, fur, or fibers
- Transparent or reflective materials
AI can handle many complex edges, but the result still depends on how much visual information exists in the original photo.
Start with a Better Source Photo
Before you generate a white background version, choose the clearest available image. A clean source photo makes every later step easier.
Use a photo where the subject is sharp, fully visible, and not touching too many objects. If possible, leave a little space around the subject instead of cropping tightly through the edges.
Avoid screenshots from messaging apps or marketplaces. These are often compressed and can create jagged edges. If you have the original camera photo, upload that instead.
Choose the Right Background Tone
Pure white is clean, but it can reveal edge problems on very light subjects. If the item is white, silver, beige, or transparent, try light gray or warm off-white. A small shift in background tone can make edges look more natural while still keeping the image clean.
For products that need a strict pure white final image, generate with pure white first. If the edges look too hard, use the edit result option to clean the subject edges while keeping the background pure white.
Keep or Remove the Shadow?
Shadows can either help or hurt.
A subtle contact shadow makes products feel grounded. It is useful for objects photographed from an angle, such as shoes, bottles, bags, decor items, and electronics.
A heavy or uneven shadow can make a white background look dirty. If the source photo has strong floor shadows, choose the flat background option or use the edit result entry to remove background shadows.
For portraits, shadows should be very soft. A strong cutout shadow around the head or shoulders can make the image look artificial.
Use the Edit Result Entry
After generating a result in PhotosStyle, you can continue from the result panel instead of starting over. This is useful when the image is almost right but needs one targeted correction.
Useful follow-up edits include:
- Make the background pure white
- Clean the subject edges
- Remove shadow
- Keep natural shadow
- Make the image look like a marketplace product photo
Keep the request specific. "Clean the subject edges and keep the product unchanged" is better than asking for a broad redesign. The goal is to preserve the subject while improving the background treatment.
Fixing Halos Around the Subject
A halo is a thin outline of the old background that remains around the subject. It often appears around hair, fabric, product corners, or transparent edges.
To reduce halos, use a higher-resolution original photo and avoid images where the subject sits against a very colorful background. If the result already has a halo, use edit result and ask to clean the edges while preserving the original subject shape.
For white or transparent products, try light gray first. You can switch back to pure white once the edge separation looks cleaner.
Fixing Awkward Shadows
If the product looks like it is floating, keep a subtle natural contact shadow. If the background looks gray or muddy, remove shadows and use a flatter studio background.
The best shadow should be barely noticeable. It should help the subject sit naturally on the surface without drawing attention to itself.
For marketplace images, consistency matters. Use the same shadow choice across similar products so the shop grid feels unified.
Download and Final Check
When the result looks right, download as PNG if you care most about crisp edges and detail. Download as JPG if you need a smaller file for a listing, website, or profile upload.
Before publishing, zoom in around the edges, check the background at the corners, and compare the product color to the original. A good white background edit should feel clean without changing the identity of the subject.
Start with the White Background Maker, then use the result-side edit workflow when the image needs one more refinement pass.